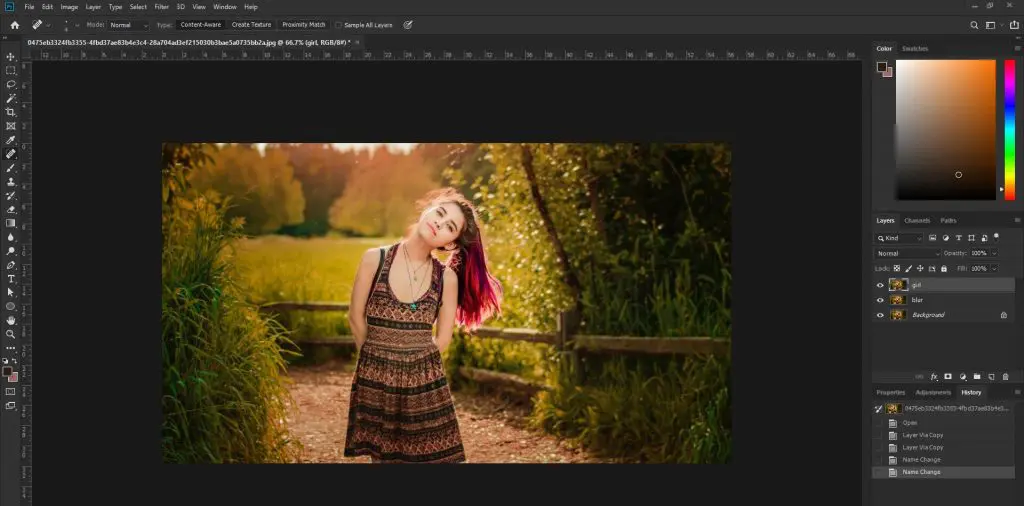
This article will show you how to use Adobe Photoshop to blur the background of pictures. You may have a picture that has too many places of focus. However, you can use the brush and blur tool to ensure there is a central place of focus.
How to blur Background in Photoshop
Do you know how to blur background of your images? This may be important if you want to make the picture look more prominent. This also helps to reduce the sharpness of the background. You may want to blur the background and make the border a bit blurry to enhance the major picture at the center for the focus to remain there.
You may also want to soften your background to make your image look more appealing and unique. In this article, we will learn how to soften your image background. There are two methods that you can use to blur your image background.
Navigation of Contents
Method A: Quick mask
1. First, open your Photoshop software. Click File > Open and choose the image you want to edit. Choose select and Mask tool. Select view mode and choose what you prefer to use. For example overlay.
2. Take the quick selection tool (or Magnetic Lasso Tool). Click and drag the area you want to select. Even if you are not accurate the selection tool will automatically create the border.

3. For better editing, click on the show edge option to see the masked area. Also, set the radius of the masking to see the outline which is the edge of the mask. If your image has sharp and soft background set a smaller radius.
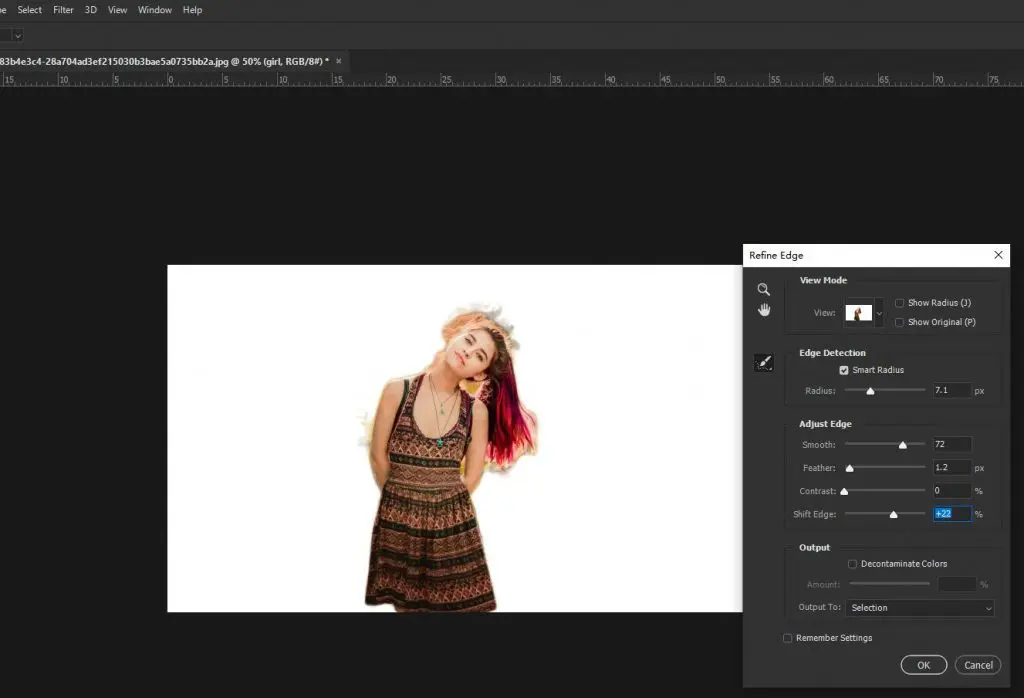
4 .On the options on the right, untick the show radius option. Use the refine edge brush tool to refine the background and add fine details to the selection. For example hairs, cat fur, etc.
5. Take the subtract selection tool and delete the unnecessary selection. Tick the decontaminate colors option to remove any color fringing near the selected pixels. In the output, settings use a new layer with a layer mask. You will have to cut off the main subject from the background.

6. To see the layered mask, click the Alt key and option key on the layer and click on the layered mask thumbnail. Also, take the soft brush and change the brush blending mode to overlay to clean any impurities on the image. Ensure to click black or white color to clean.
How to remove the main subject from the background
- Copy/duplicate the layer or click CTRL + J
- Select the subject using the lasso tool then click edit menu > fill > Content-aware and tick color adaptation.
- Deselect the selection CTRL + D
- To add lens blur to the layer, Go to filter > Lens Blur > add blur radius to your preference.
Method B: Choose the subject
1.Duplicate the layer or click CTRL+J
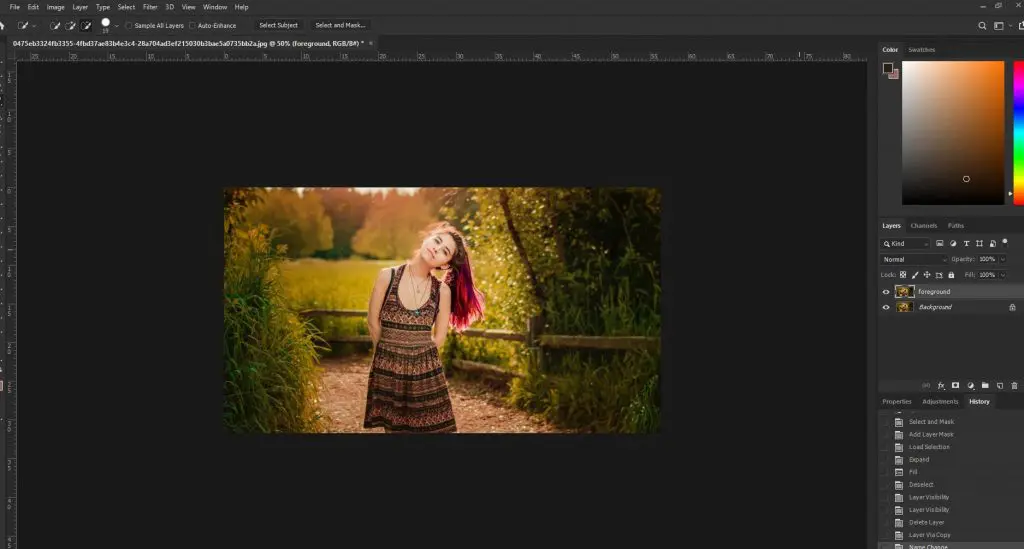
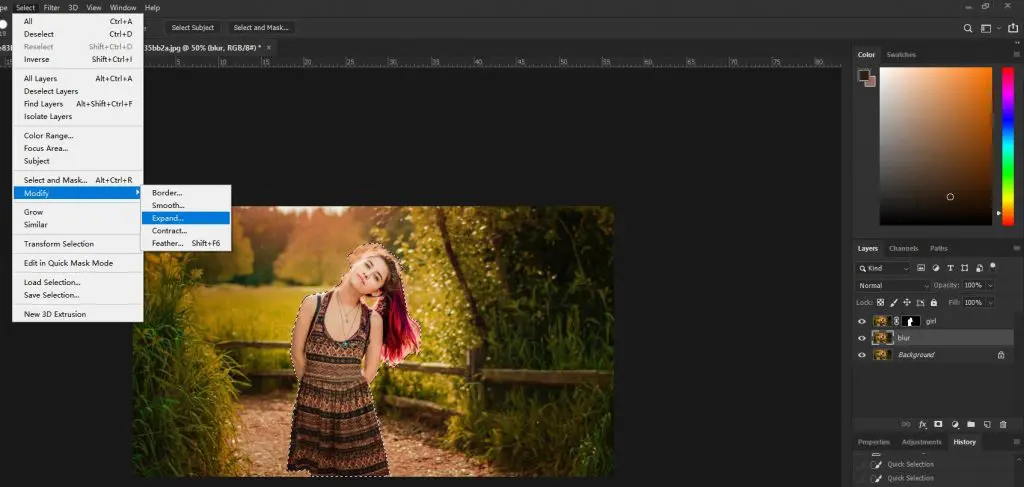
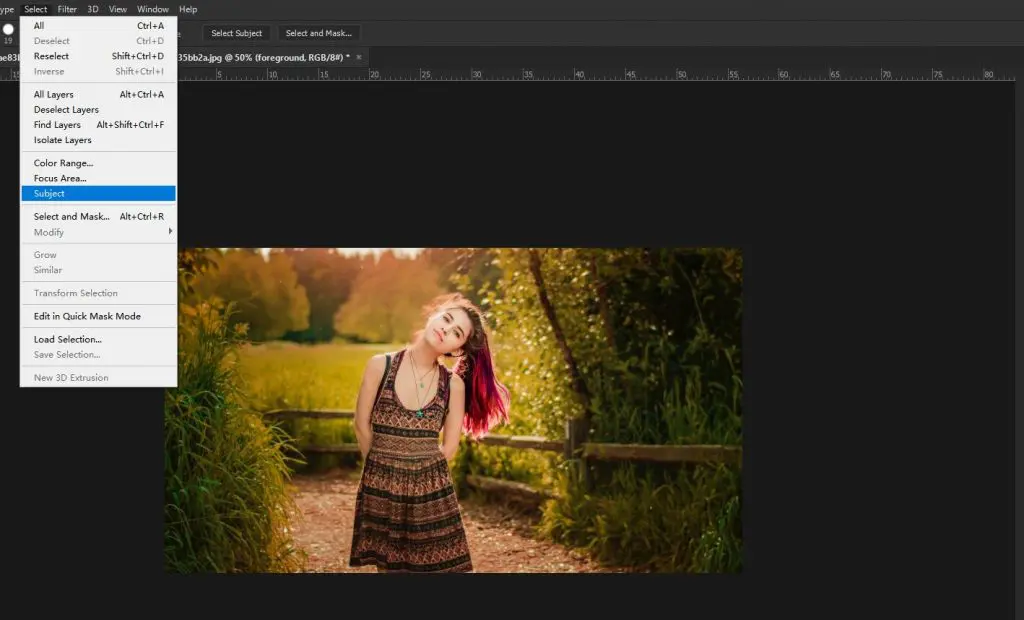
2. First thing is to remove the background from the subject. Click select > Subject (AI in Photoshop will select your subject)
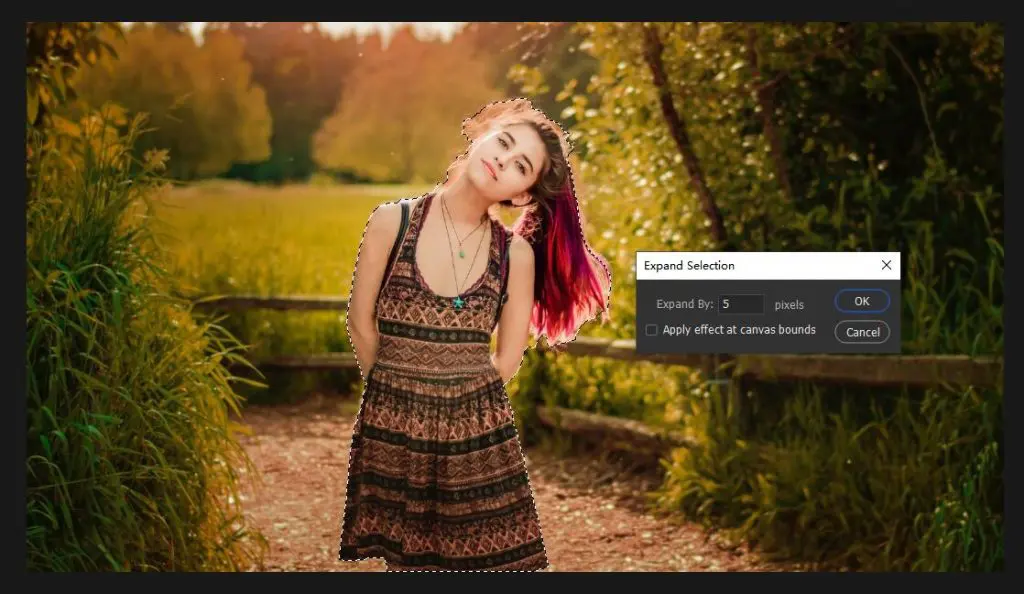
3. Click select > Modify > when the dialog box appears change “expand” by some radius. This will increase the distance between subject and selection.
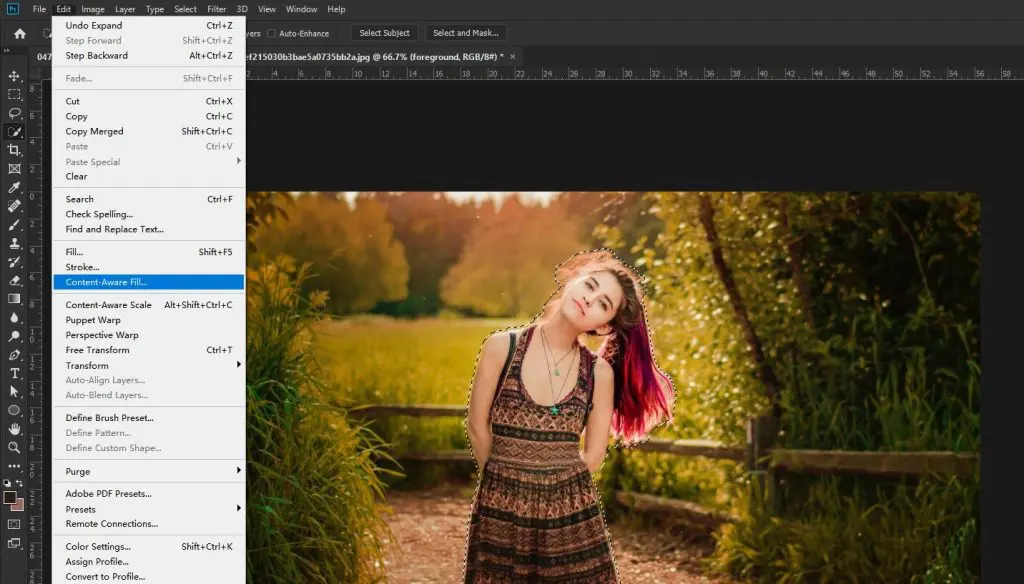
4. Then click Edit > content-aware fill to remove the subject from the image. Ensure output is set to the duplicate layer.
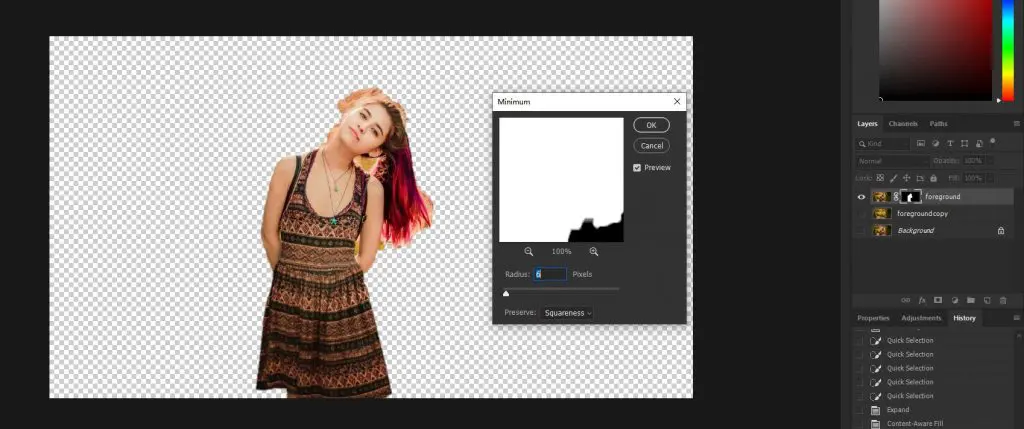
5. To make the image a layered mask, click the layer mask selection option. With the layer mask selected click on Filter > other > minimum. This is to remove the distance between subject and selection. Write a preferred radius like 6 pixels.
6. Select the background layer and convert it to a smart object. (Which is a container that holds one or more layers that allow you to apply editable adjustments, distortions, filters, and transformations.)
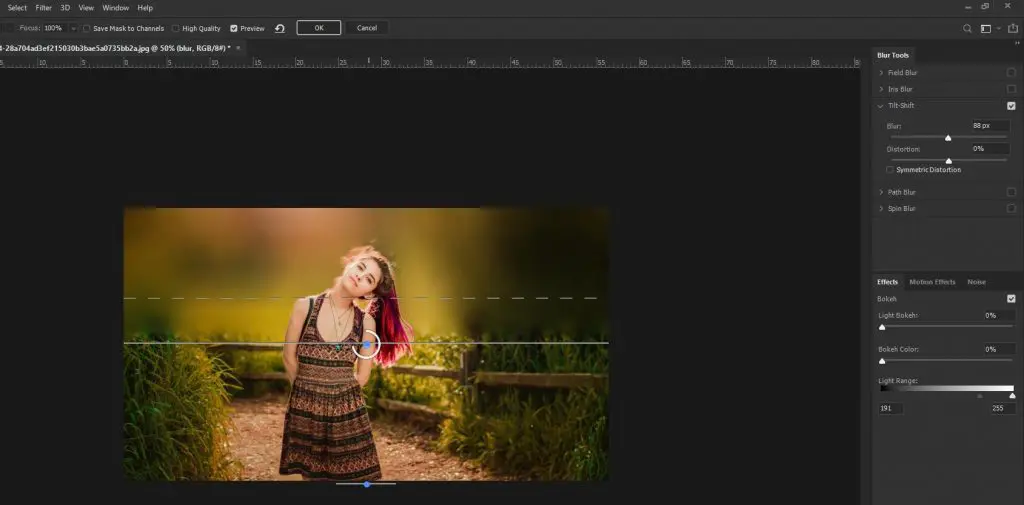
7. The next step is to go to filter>blur gallery >Tilt shift (You can use Gaussian Blur too). This helps to blur the image from the top and bottom, leaving the center intact. However, you can change where you want it to be blurry.
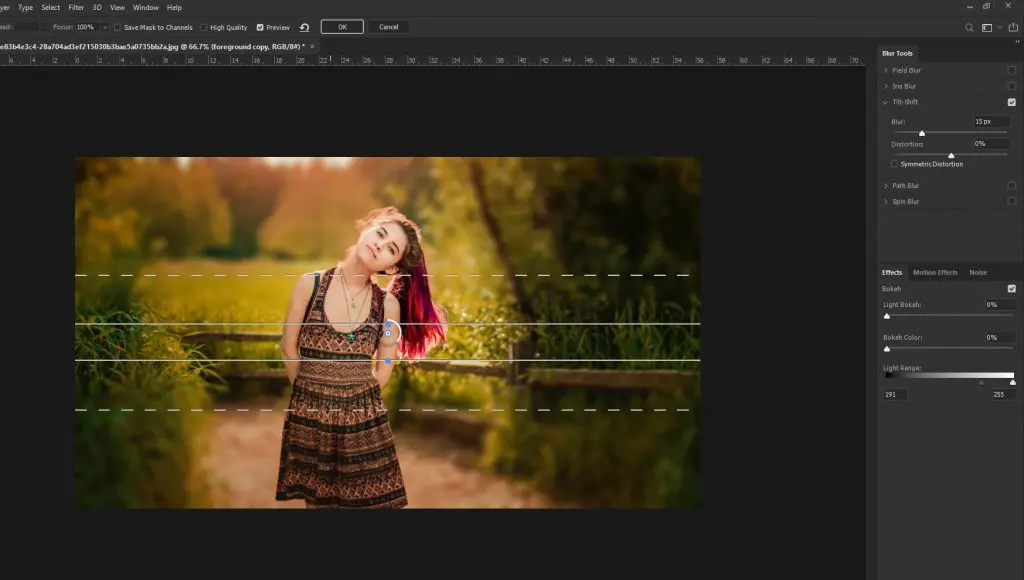
You can change the blur capacity and the controls. Also, go to the layered mask and use the blur tool tool to fix the issues that may have arisen. You can click on color effects to make the image look more real.
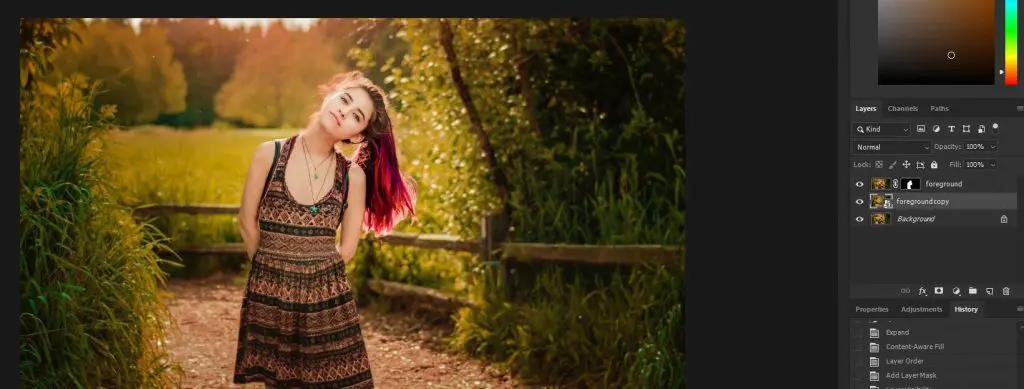
The Axis effect of the image
As you can see, due to the effects made on the photos, it makes a user focus more on the central part of the image. The background look burry, to ensure the main focus of the image remains. It has a Lilliput effect.
1. Run your Photoshop software and open your image (File > Open)
2. Duplicate the image, by right-clicking on the layer and choosing the ‘duplicate layer' option. Alternatively, click CTRL + J to duplicate the image layer. This will help you preserve the original image.
3. Click on the quick mask mode button in the toolbox. A color overlay will appear and you can choose the color you want. Navigate to the left menu bar and choose the brush tool. Adjust the size and hardness of the brush.
4. Using the brush tool, select the area on the image you want to protect. You need to do this keenly.
5. After you are done, choose filter > Blur > Average, after that choose filter > blur > Lens blur.
6. You may note the change after that. On the Left menubar, you will see some adjustment options that you can use to modify your image.
7. Save your image and compare it with the original.
8. You will then note that the part you're selected using the brush tool remained the same, but the unselected part changed and became blurry.
What kind of pictures can be selected to make Lilliput effect?
Not all images can be made to have the Lilliput effect. Only specific images can be basing on two factors. There must be a shallow depth of the field and is best done from a height. There is also a way photographers take pictures to ensure it showcases a Lilliput effect.
(1) Shallow depth of the field.
This is having one thing as the main focus while everything is out of focus. If you are taking pictures, if you allow more light to get in, the more you will get the shallow depth of field effect. Hence, images that have the main focus can be used to make the Lilliput effect.
The depth of the field is the zone that seems sharp within a photo and will appear in focus. In most pictures, you will always see that there is a certain area either in front or behind the subject that appears as the focus.
(2) Its best done from a height
Also, if you want to have a Lilliput effect on your images, you can take them from a height to ensure the focus remains. You may assume that taking from a height may make the image not to seem clear, however, with the right settings and everything, your image will have a Lilliput effect. Also, an image taken from a height tends to have a certain type of uniqueness.
Conclusion
The above methods we have discussed will help you know how best to blur your background on Photoshop. Hence, take the next step and edit your pictures to ensure they look more appealing. If your images look great so will the reception of your images. The methods are straightforward and cant pose a problem.