Alien Skin Exposure X4 is a very reliable photo editor and organizer, with great features to help transform your images. This is a very comprehensive review on this amazing software; read to learn more!
The photography community keeps advancing and developing new features and tools every day. There are several photo editing software such as Lightroom, Capture One Pro, ON! Photo RAW etc.
Photographers know the importance of an effective photo editor and would always look forward to working with one. There are some basic features you need to work with while editing images, these unique features help you create what you desire. The Alien Skin Exposure is here to suit your photo editing needs.
Overview: Alien Skin Exposure
Alien Skin has done it again, with its latest version Alien Skin Exposure X4. Alien Skin Exposure is a RAW file developer and image editing and organizing software .Alien skin Exposure X4 has got features that are very reliable to work with.
For those who need an alternative to Lightroom, this is the right article for you. You can get all your answers here and know what Exposure offers.
User Reviews
Summarize your review or highlight an interesting detail
Summarize your review or highlight an interesting detail
** Official website : https://exposure.software
Pros and Cons of Alien Skin Exposure
Alien Skin Exposure has its pros and cons. This photo editor’s pros and cons are listed below.
Pros:
- Simple and effective cataloging and browsing tools
- Supports LUTs
- Non-destructive editing
- Nice analog film effects
- Smart collections
- It has got virtual copies
Cons:
- More expensive than some photo editing software
- Lacks support for montages or image layers
- Lacks chromatic aberration tool
What do I like Skin Exposure X4?
This software has got benefits for users as it has got exciting features you would love to explore.
Organizing Tools
So many of Lightroom’s users complain that images have to be imported into Lightroom’s Library before any work can begin on the pictures. Exposure X4 works better than this; there is an inclusion of image thumbnails whereby you can select the images you want to copy, this means that Exposure X4 simply utilizes a simple bookmark and copy feature for raw photos rather than importing files.
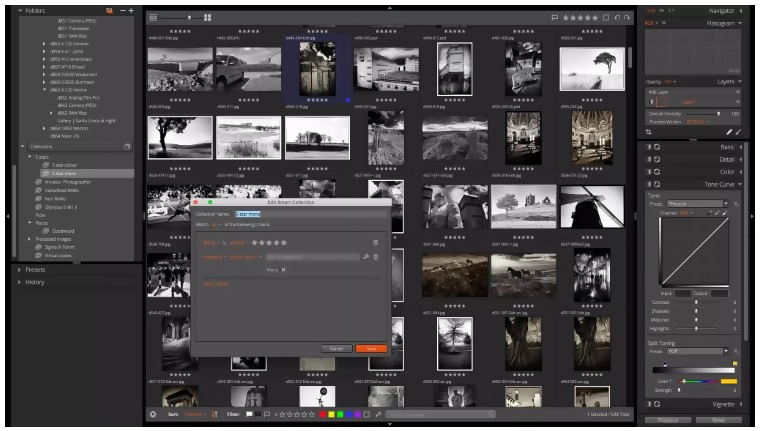
The Card dialog enables you to select several cards simultaneously, give metadata to the photos and also allow backups to a different location while importing. With the new Smart Collections, your images are showcased in terms of specifications. When photos are added to your library according to the set down specifications, the photos are included to the smart collection automatically.
Non-Destructive Editing
Just like some non-destructive photo editor like Capture One Pro, Lightroom CC, ON1 Photo Raw, and the likes, Exposure X4 offers you non-destructive editing. This simply means that any changes made to an image will not be saved in the original copy of the image, all alters are saved as processing instructions in a different ‘metadata’ files saved in the same folder. At the end, the original image remains unchanged. This is very helpful as you can change your mind about the settings and can create “virtual copies’ having different settings.
With the latest release of Alien Skin Exposure, any kind of photo file can be edited, files like TIFFs, JPEGs, and other RAW files. This software supports a wide variety of camera RAW files.
There is an improvement in the shadow and highlight tools for recovering RAW files in this latest version, you can easily get the maximum tonal details from your files with this improvement. When it comes to RAW processing, Exposure X4 is still not the best, the likes of Capture One Pro and DxOPhotoLab are still leading. However, Exposure X4 still does a good job with the majority of camera RAW formats.
There are so many editing tools you can apply in this version of Alien Skin, layer masks, and adjustment layers can also be created. The editing tools are superb and they make your work great.
Analog Effects
Exposure 4 has a library of analog presets. There are in different categories, such as Color and Black&White .You can create your own presets; manually develop your own effects. Presets help you to start and also offer you various ways to get your images processed.
With the updated Light Effects tools, you can adjust the ‘light leaks of vintage cameras. You can also use the Light Effects to add hazy effect or window flare to any image. There is the inclusion of new Haze overlays and Lens Flare in the Exposure X4, with these, you can add atmosphere to your photos. There are other tools you can use to create film looks in this version.
Nice Interface and Import
The interface in Exposure X4 is easy to use and straightforward. Although it is similar to Lightroom’s interface, it has some differences. Exposure X4’s interface has no modes for various functions like developing, organizing and sharing. The gray interface features a left panel for the source and right panel for metadata and adjustments. To zoom pictures, you spin the mouse wheel. There are keyboard shortcuts designed for organizing and editing operations which make editing and viewing easier.
In Lightroom, you are required to go through the import section. Exposure X4 deals with import in a different way, Exposure makes use of bookmark feature rather than import. You import files by clicking on the plus sign located on the Folders panel and choose the folder you want.
Photo Adjustments
The adjustment panel in Exposure is similar to Lightroom’s, the sliders allow you to have control over shadows, contrasts, vibrance, exposure, clarity, saturation, and highlights. You can adjust the level of your image’s brightness with the Tone Curve tool. You can also correct the lighting of an image precisely. There are Lens corrections that are profile-based in Exposure just like Lightroom. The adjustment panel lacks dehaze tool, unlike other rivals. The adjustments in Exposure X4 are non-destructive as you can decide to change them anytime you want to.
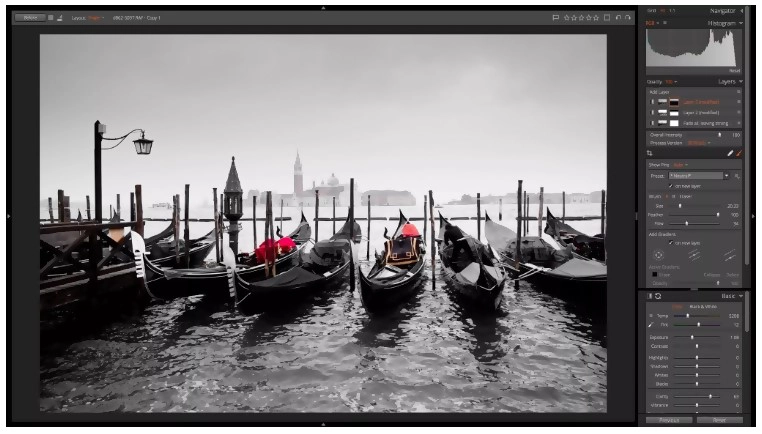
Layers and Filters
Lightroom users complained that effects and edits could not be applied on different layers. For Lightroom users, they had to use Photoshop to blend multiple exposures and tweak certain areas in an image. With the layers panel introduced in Exposure X4, you can nearly get the best of Photoshop and Lightroom in single software.
With Exposure X4, you can create various masks for each edit, unlike Lightroom where you have to add masks and gradients to a single file. Creating different masks for each edit gives you control over your editing. Exposure offers a wide range of film and video filters, and with just a click of a button, you can give a stunning look to your photos. There are presets that can make your images look exactly like slide film and classic color.
What is New and is it Worth Upgrading?
Exposure has continued to help photographers achieve the aim of creating beautiful looks in their images for the past ten years. In this version, Exposure has not failed to include some new features that will help you in editing images. These features include new Smart Collections, highlight and shadow recovery, adjustable light effects, keyboard shortcuts and more.
Smart Collections
With the new Smart Collections, an organization of images has been made easy and time-saving. This feature helps to automatically arrange all photos according to the number of keywords or the criteria you create. You can set up a smart collection by just entering a keyword using the Metadata Panel. Keywords, camera details, and rating info can be added to your collection.
This feature is really helpful as it helps you automatically save your images to different collections according to keywords. With this organizing of photos is made much easier. You can simply create smart collections by just clicking on the ‘stack folder’ icon in the Collections panel and then choose New Smart Collection.
Monitored Tethering and Folders
When we talk about tethered shooting, we simply mean connecting your camera to your computer through a cable, to have a bigger preview of your camera’s view. The tethered shooting also helps to adjust the settings of your camera from your computer.
When you view photos on a bigger screen, it makes editing great as you will clearly spot any problems with lighting, focus, composition or posing. This feature is very great, quick and reliable most especially for those who work with larger views.
With the new features included in this version, we can say it really worth upgrading. Existing users can upgrade from the previous version to the latest version. The upgrade costs $99; this program is worth upgrading for as it is one of the best photo editors with advanced features.
Transform Tools
With the new transform tools, you can correct images with distorted horizontal and vertical perspective. In the transform panel, there are seven different options to correct the perspective, they include Aspect, Horizontal, Scale, Vertical, Rotate, Y Offset, and X Offset. You can also adjust more precisely by activating the gridlines; the gridlines help you to adjust images accurately.
New Lightroom Migration Tool
The new Lightroom Migration Tool included in Exposure X4, tells you where you can locate your files from the Lightroom catalog. This feature converts Lightroom folders to Exposure bookmarks and also exports Lightroom-adjusted photos with original copies for reference.
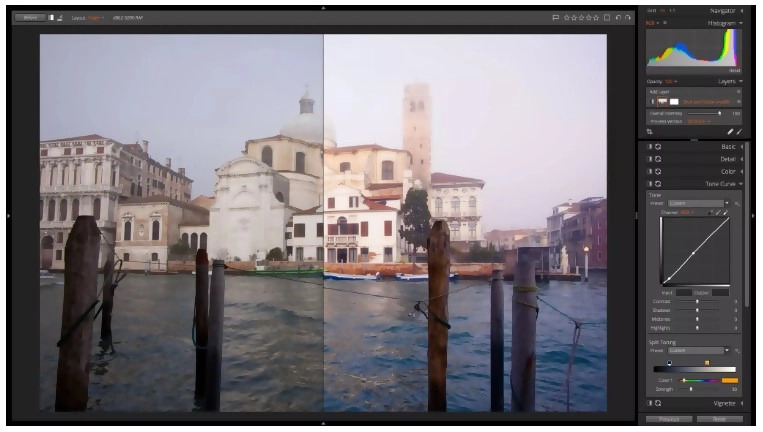
Improved RAW processing
For any RAW processing applications, the most crucial factor considered by photographers is the rendering quality. Various software gives a different interpretation to the proprietary raw information. Some software offers better shadow recovery and highlight, while some offer more realistic colors.
We have had an in-depth look into some photo editing software like CaptureOne, Lightroom, and Photoshop, each of this software renders RAW files in slightly different ways, although you can hardly tell the difference. In Exposure X4, the final edit renders more Shadows and highlights than Lightroom. The Exposure X4’s improved shadow and highlight recovery allow you to manage exposures that seem too “difficult.”
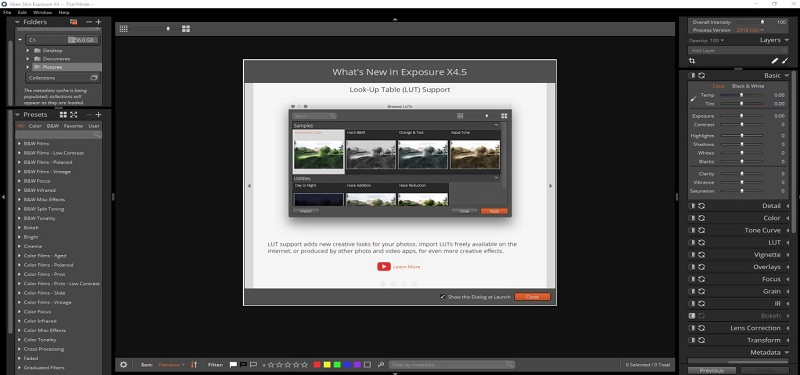
New LUT Supports
LUT simply means ‘Look Up Table’. This version includes support for LUTs, LUT is a type of digital filter used in cinematography and video, they give atmospheric and unique looks to videos.
This feature was recently discovered, Exposure now provides some LUTs sample in this version. Free and commercial LUTs can now be downloaded and installed online. LUTs are added through a new LUTs panel, this panel includes an option for visually browsing various LUTs effects.
Cost: (Is It Cheap Or Expensive?)
When we talk about Exposure’s cost, some photographers cannot afford the price due to the fact that it is more expensive than some photo editing software.
Exposure X4 costs $149, while upgrade goes for $99. This is more expensive than Adobe Lightroom which costs $119.88 per year. However, Capture One is more expensive than Exposure which goes for $299. Exposure offers a 30-day trial.
How to Setup and Install
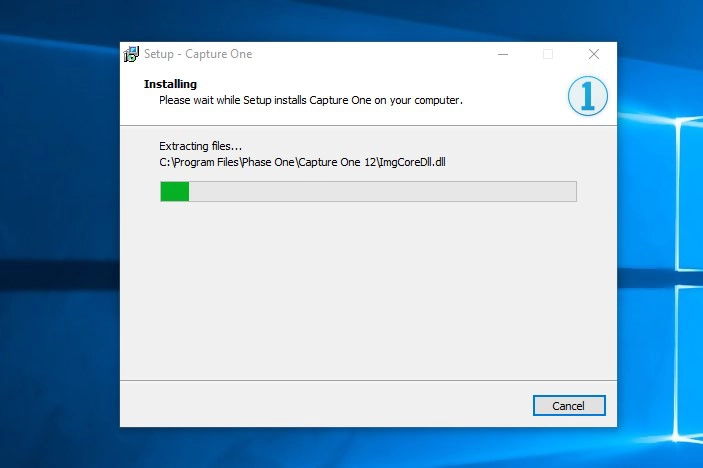
Step 1 : Visit https://www.captureone.com/en/products/pro website and download the software.
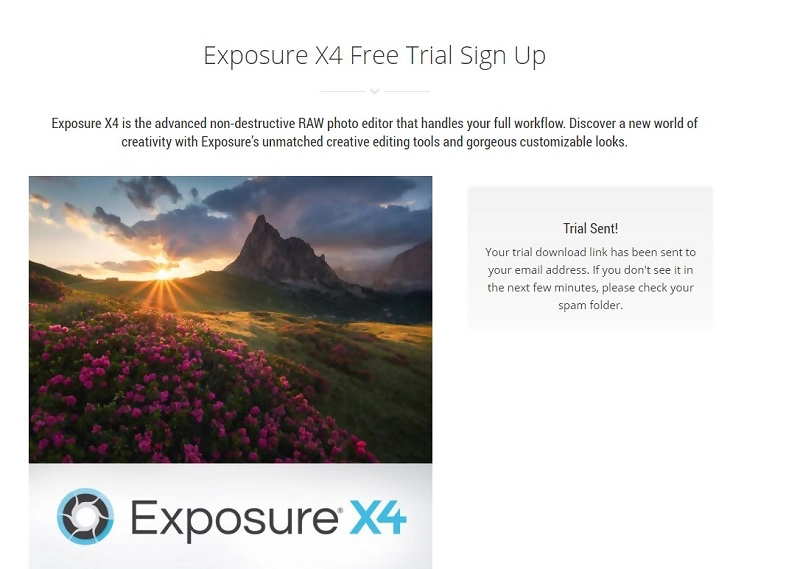
Step 2 : Fill your email address for active trial
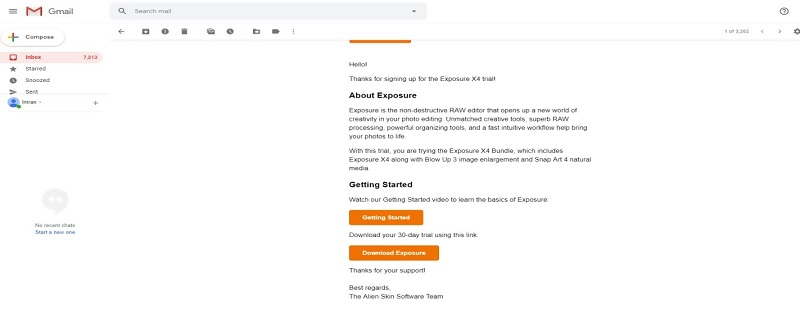
Step 3 : Go to your email box and download link
Step 4 : After the download, double click the software to start setup and then click start
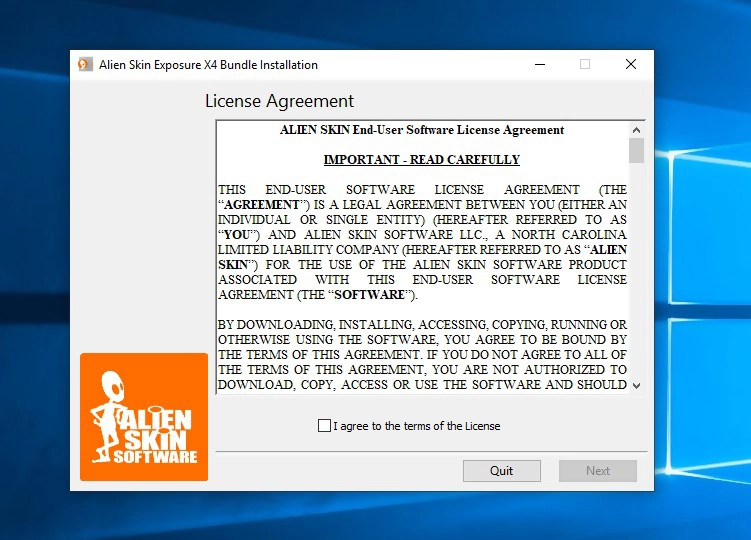
Step 5 : Select ‘I accept the agreement’ and then click Next
Step 6 : Click on install
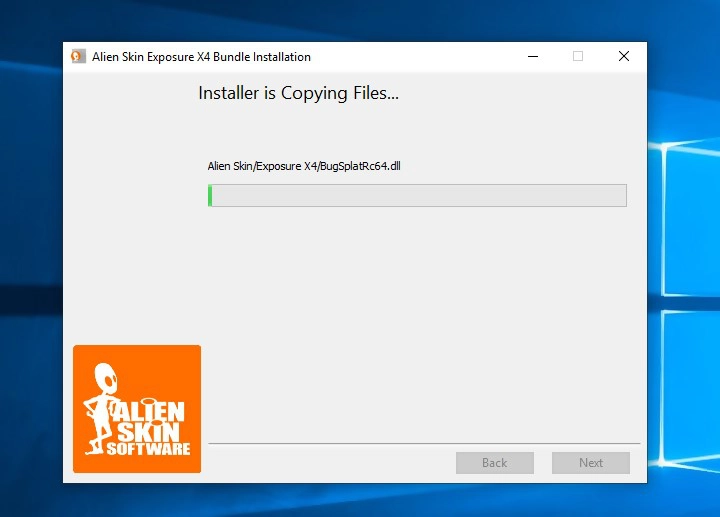
Step 7 : Waiting for finished, then click Finish after finished
Step 8 : After installation has been completed, click close and run from Start menu or desktop
Do We Recommend?
Exposure X4 has proved to be a reliable photo editor with distinctive features. This software has a good combination of creative tools and RAW processing features that help you work with images and achieve the best result you can ever have. Being a plug-in to both Lightroom and Photoshop, Exposure offers you the best of this software.
If you are in need of a straightforward, effective and unique photo editor, Exposure X4 is what you need. This software requires no catalog, has got thousands of features and more than 500 edits to help you edit your images.